Today you will learn how to create a drop-down button in Flutter.
This is the simple possible method that you will learn in this tutorial.
In this Article
Easy Example
Complete App Code:
import 'package:flutter/material.dart';

void main() {
  runApp(const MyApp());
}

class MyApp extends StatelessWidget {
  const MyApp({super.key});

  @override
  Widget build(BuildContext context) {
    return MaterialApp(
      debugShowCheckedModeBanner: false,
      title: 'CodeWithHussain.com',
      theme: ThemeData(
        primarySwatch: Colors.indigo,
      ),
      home: const HomeScreen(),
    );
  }
}

class HomeScreen extends StatefulWidget {
  const HomeScreen({super.key});

  @override
  State<HomeScreen> createState() => _HomeScreenState();
}

class _HomeScreenState extends State<HomeScreen> {
  List<String> items = [
    'Red',
    'Green',
    'Orange',
    'Blue',
    'Black',
  ];
  String dropdownValue = 'Red';

  @override
  Widget build(BuildContext context) {
    return Scaffold(
      body: Center(
        child: DropdownButton<String>(
          value: dropdownValue,
          items: items.map<DropdownMenuItem<String>>((String value) {
            return DropdownMenuItem<String>(value: value, child: Text(value));
          }).toList(),
          onChanged: (String? newValue) {
            setState(() {
              dropdownValue = newValue ?? '';
            });
          },
        ),
      ),
    );
  }
}
Explanation:
Let’s see step by step tutorial on how you can create a dropdown.
If the above code is hard for you to understand.
You can understand it now by following these steps:
- Step 1: Create a Stateful Widget
- Step 2: Variable to get Input from Dropdown
- Step 3: Dropdown options
- Step 4: Let’s Define the Dropdown Widget
Step 1: Create a Stateful Widget
class HomeScreen extends StatefulWidget {
  const HomeScreen({super.key});

  @override
  State<HomeScreen> createState() => _HomeScreenState();
}

class _HomeScreenState extends State<HomeScreen> {
//some state variable should be here
  @override
  Widget build(BuildContext context) {
    return Scaffold(
      body: Center(
        child: //Here we define the dropdown
      ),
    );
  }
}
Step 2: Variable to Get Input From Dropdown
You define a state variable to get the input from the dropdown button.
String dropdownValue = 'Red';Step 3: Dropdown Options
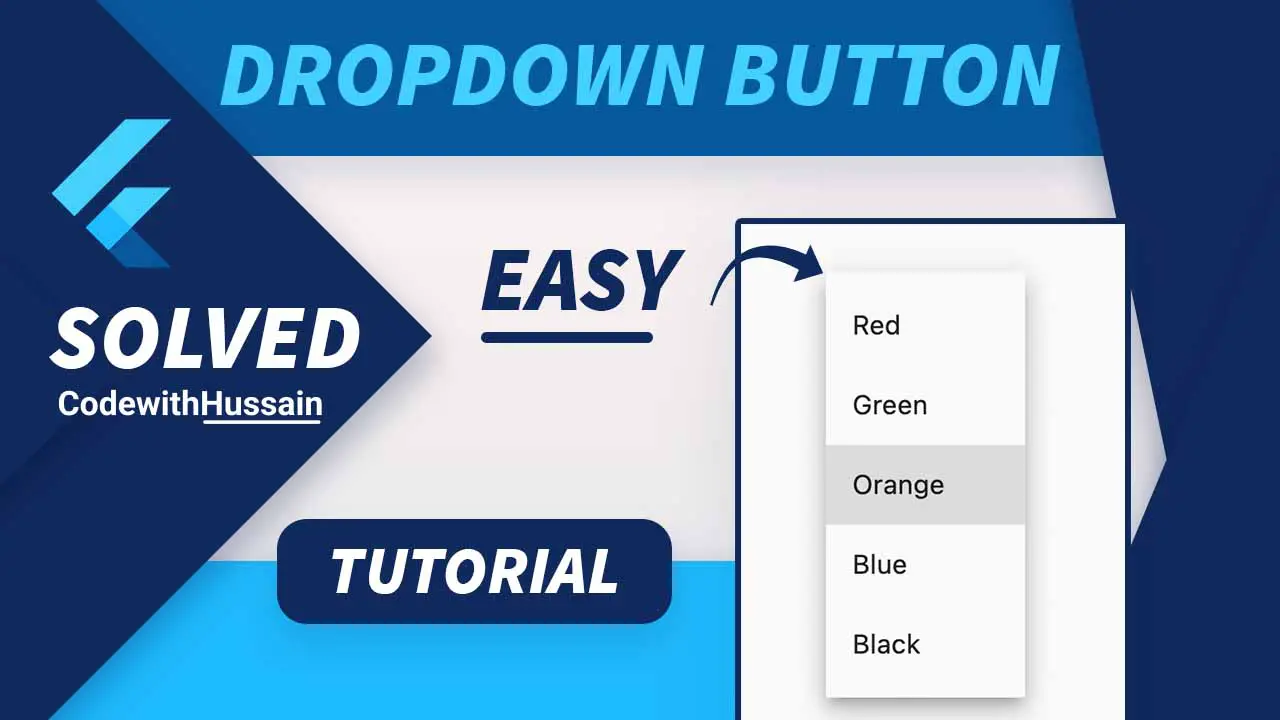
  List<String> items = [
    'Red',
    'Green',
    'Orange',
    'Blue',
    'Black',
  ];
These are the options that you see, when you tap on the dropdown button.
Step 4: Let’s define the Dropdown widget
DropdownButton<String>(
  value: dropdownValue,
  items: items.map<DropdownMenuItem<String>>((String value) {
    return DropdownMenuItem<String>(value: value, child: Text(value));
  }).toList(),
  onChanged: (String? newValue) {
    setState(() {
      dropdownValue = newValue ?? '';
    });
  },
),
You define the DropdownButton widget with a generic value of String (You can specify your custom object here).
value: dropdownValue,This is the actual value that we getting from the dropdown. This can be different from what we see in the UI.
For example, you can show a list of emojis in the drop-down UI. but you can assign emoji objects here at the value property.
items: items.map<DropdownMenuItem<String>>((String value) {
    return DropdownMenuItem<String>(value: value, child: Text(value));
  }).toList(),
item is a property of DropdownButton where you just map the list of strings to the DropdownMenueItem which basically is an anonymous function that give String value to the closure.
And we return the DropdownMenuItem by passing it the value.
Note: Don’t forget to add toList() at the end.
onChanged: (String? newValue) {
    setState(() {
      dropdownValue = newValue ?? '';
    });
  },
This is the place where the magic happens you assign the newValue to the dropdownValue variable.
Note: Make sure you have this assignment inside the setState().
So, that the state of the UI can get updated.
Conclusion
You see the simple possible way to add a Dropdown button in Flutter framework.
Read more:
- Flutter Rounded Button
- Flutter Change Android minsdkVersion
- How to update Flutter app Version
- Flutter AnimatedBuilder Example
- Flutter SliverGrid Widget
- Flutter get device ID
I hope you like this flutter tutorial. Thanks