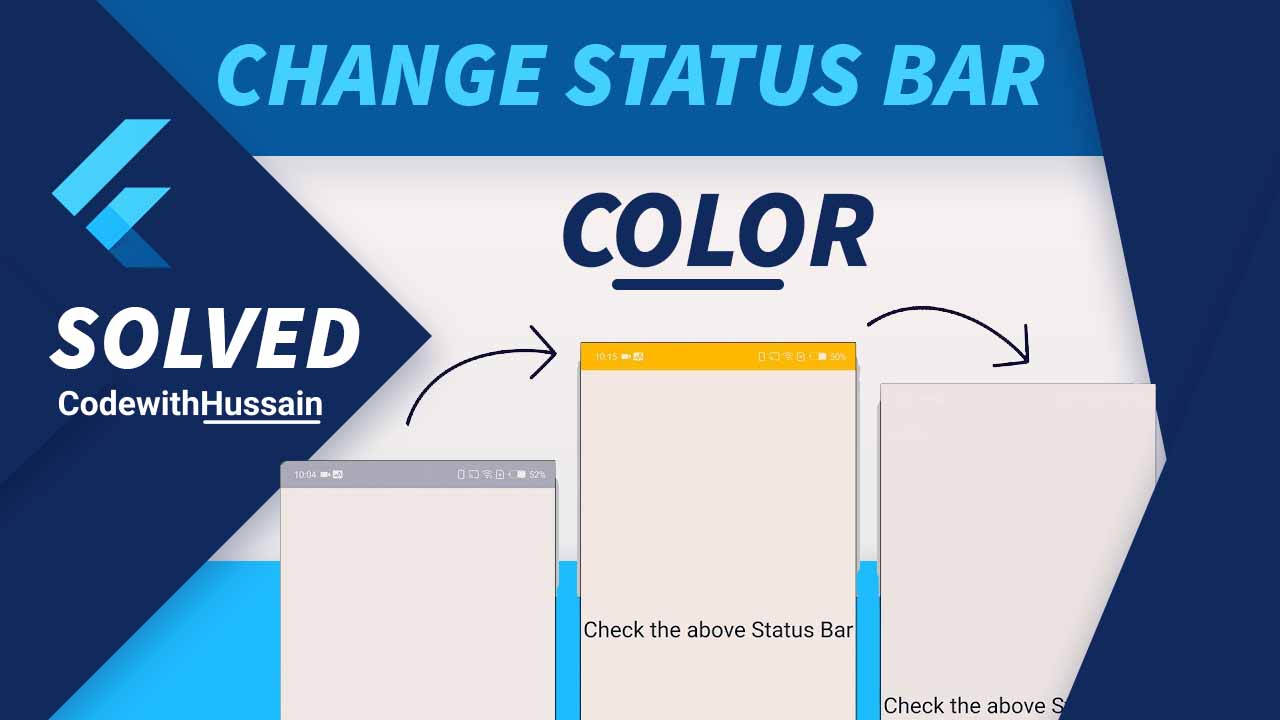
Most of the time our designer gives us a challenge with their custom style. Let’s say they give you a design that does not contain any status bar or Bottom navigation bar how can you remove the status bar and navigation bar or change the color of the status bar and system bottom navigation bar. Let’s see how can we do these changes.
In this Article
Customize Status Bar and Bottom Navigation Bar By Using Flutter services library
Services library depends on the core dart libraries with the Flutter foundation library exposing the platform (android, ios) service to the app that we are building.
SystemChrome is a class that is responsible for the controlling of OS(android, ios) GUI and its interaction with the app. It is part of the service library that we use to change the status bar color.
The status bar we see is the system UI overlay. We change the style preference of this overlay style with a SystemUiOverlayStyle.
Just like TextStyle for Text widget we have SystemUiOverlayStylefor SystemChrome.setSystemUIOverlayStyle(SystemUiOverlayStyle style) static method.
setSystemUIOverlayStyle(SystemUiOverlayStyle style)
This method communicates the platform through SystemChannels to show the system UI overlay (Status bar, bottom navigation bar) with the given style.
Using SystemUiOverlayStyle constants You can use default constants for style.
SystemUiOverlayStyle.dark SystemUiOverlayStyle.light
But the better approach is to use a custom SystemUiOverlayStyle object.
Creating a custom style for the SystemUiOverlayStyle
SystemUiOverlayStyle is a class that takes six named arguments.
1 – systemNavigationBarColor systemNavigationBarColor represents the color of the system bottom navigation bar. Color passed through this parameter will try to replace the default color.
2 – systemNavigationBarDividerColor There is a divider between the SystemBottomNavigationBar and the other content. We use the systemNavigationBarDividerColor parameter to change the color of that divider. The requested change is displayed only in the Android P or higher versions.
3- systemNavigationBarIconBrightness We can control the icon color of the system bottom navigation bar using the systemNavigationBarIconBrightness property. This property takes the Brightness enum as a parameter. Brightness.dark makes the icon color darker. Brightness.light make the icon color lighter.
4- statusBarColor This SystemUiOverlayStyle property is useful to change the color of the status bar. Here, you can give any color which will display on the screen.
5 – statusBarBrightness This parameter only affects the ios UI. Android users will not see any change in their app. The purpose of statusBarBrightness is to communicate the status bar brightness (Brightness.dark, Brightness.light) to the internal system. Which will style the app properly.
6 – statusBarIconBrightness Just like systemNavigationBarIconBrightness, we can change the status bar icon brightness by using statusBarIconBrightness. Here, we also use the Brightness.dark and Brightness.light enums.
Change Status Bar color by using SystemChrome.setSystemUIOverlayStyle() We put this method inside the main() of our flutter app. We execute this method first and then we want to load the widget tree.
void main() {
  SystemChrome.setSystemUIOverlayStyle(
    SystemUiOverlayStyle(
      statusBarColor: Colors.amber,
      statusBarBrightness: Brightness.dark,
      statusBarIconBrightness: Brightness.light,
    ),
  );
  runApp(MyApp());
}
Here first system style his overlays according to the given styles and then the runApp() method will load the MyApp() root widget of our application.
You can see the status bar color will change to amber.
Make Status Bar Transparent in Flutter App Example
You have a design where you see there is no status bar color. And you want to create the UI for that design. Now you think How I can make this status bar transparent from my app.
For that purpose, we use the power of Colors.transparent.
Let’s see
void main() {
  SystemChrome.setSystemUIOverlayStyle(
    SystemUiOverlayStyle(
      statusBarColor: Colors.transparent,
    ),
  );
  runApp(MyApp());
}
You will see that our status bar color becomes transparent.
Remove Status Bar From the Flutter App Example
Now you want to go one step ahead and decide to hide the status bar insides flutter.
SystemChrome give us the setEnabledSystemUIOverlays() which take List as overlay parameters.
Syntax
SystemChrome.setEnabledSystemUIOverlays([List overlays]);SystemUiOverlay is an enum type that has defined top and bottom. If we want to hide the system status bar we use this code
void main() {
    SystemChrome.setEnabledSystemUIOverlays([SystemUiOverlay.bottom]);
  runApp(MyApp());
}
Note: Above code might not work and give you an error that
[ERROR:flutter/lib/ui/ui_dart_state.cc(177)]
Unhandled Exception: ServicesBinding.defaultBinaryMessenger was accessed before the binding was initialized.
For resolving this error we have to use WidgetsFlutterBinding which is the glue that binds the framework to the flutter engine.
We use the static method ensureInitialized() to do the binding first and then enable the given overlay on the screen.
Working Code that removes the status bar will look something like this
void main() {
    WidgetsFlutterBinding.ensureInitialized();
SystemChrome.setEnabledSystemUIOverlays([SystemUiOverlay.bottom]);
  runApp(MyApp());
}
For showing the removed status bar again we use the bellow code
SystemChrome.setEnabledSystemUIOverlays(SystemUiOverlay.values);Remove Status Bar From the Single Scaffold Page Widget Example
For some use cases, we want to only hide the status bar from only a single page. Just like my last app where I only want to hide the status bar from the login screen and on the other screen status bar should be shown.
For single-page status bar removal, we use a stateful Widget.
When stateful widget initialize initState() method will execute so one of these two methods.
@override
void initState() { SystemChrome.setEnabledSystemUIOverlays([SystemUiOverlay.bottom]);
    super.initState();
  }
This code will remove the StatusBar and when this page is going to pop we want our status bar back to its initial position for that purpose we will use
  @override
  void dispose() {
    SystemChrome.setEnabledSystemUIOverlays(SystemUiOverlay.values);
    super.dispose();
  }
OR
@override
  void dispose() {
    SystemChrome.setEnabledSystemUIOverlays(
        [SystemUiOverlay.top, SystemUiOverlay.bottom]);
    super.dispose();
  }
Keep Your content on the Safe Area of Your page
When you remove your status bar your content will move up and give an ugly feel for resolving that problem. We can use the flutter SafeArea widget and give our content to it as a Child argument.
Example:
  SafeArea(
        child: Column(
          children: [
            Text('this is my body'),
          ],
        ),
      ),
Let’s see
  SystemUiOverlayStyle(
      statusBarColor: Colors.transparent,
    ),
Change System Bottom Navigation color by using SystemChrome.setSystemUIOverlayStyle()
Now we will see how setSystemUIOverlayStyle() method will change the bottom navigation color of underlying os(ex: android).
Example:
void main() {
  SystemChrome.setSystemUIOverlayStyle(
    SystemUiOverlayStyle(
      systemNavigationBarColor: Colors.amber,
      systemNavigationBarDividerColor: Colors.black,
      systemNavigationBarIconBrightness: Brightness.light,
    ),
  );
  runApp(MyApp());
}
You can see the system bottom navigation bar color will change to amber.
Make systemBottomNavigationBar Transparent in Flutter App Example
Making the bottom navigation bar transparent we use the Colors.transparent.
Example
void main() {
  SystemChrome.setSystemUIOverlayStyle(
    SystemUiOverlayStyle(
      systemNavigationBarColor: Colors.transparent,
systemNavigationBarIconBrightness: Brightness.dark,
    ),
  );
  runApp(MyApp());
}
It will give you the effect that the system bottom navigation becomes white and that’s why We just add Make icon brightness dark so that we can see the icons. When we press the button os(android, ios) default style will look the same.
Remove systemBottomNavigationBar From the Flutter App Example
It is very unlikely that we want to remove or hide the system’s bottom navigation bar from our app. But we use flutter and we can think of any use case and design for our app. Maybe we want to show our style of back and forth navigation for that purpose we want our app to remove the systemBottomNavigationBar.
Let’s see how can we remove it.
Example Code:
void main() {
    WidgetsFlutterBinding.ensureInitialized();
SystemChrome.setEnabledSystemUIOverlays([SystemUiOverlay.top]);
  runApp(MyApp());
}
Conclusion
I think this is the better approach to changing the color and other customization of the status bar and the system bottom navigation bar. If you find your solution my purpose is achieved. Thank you


