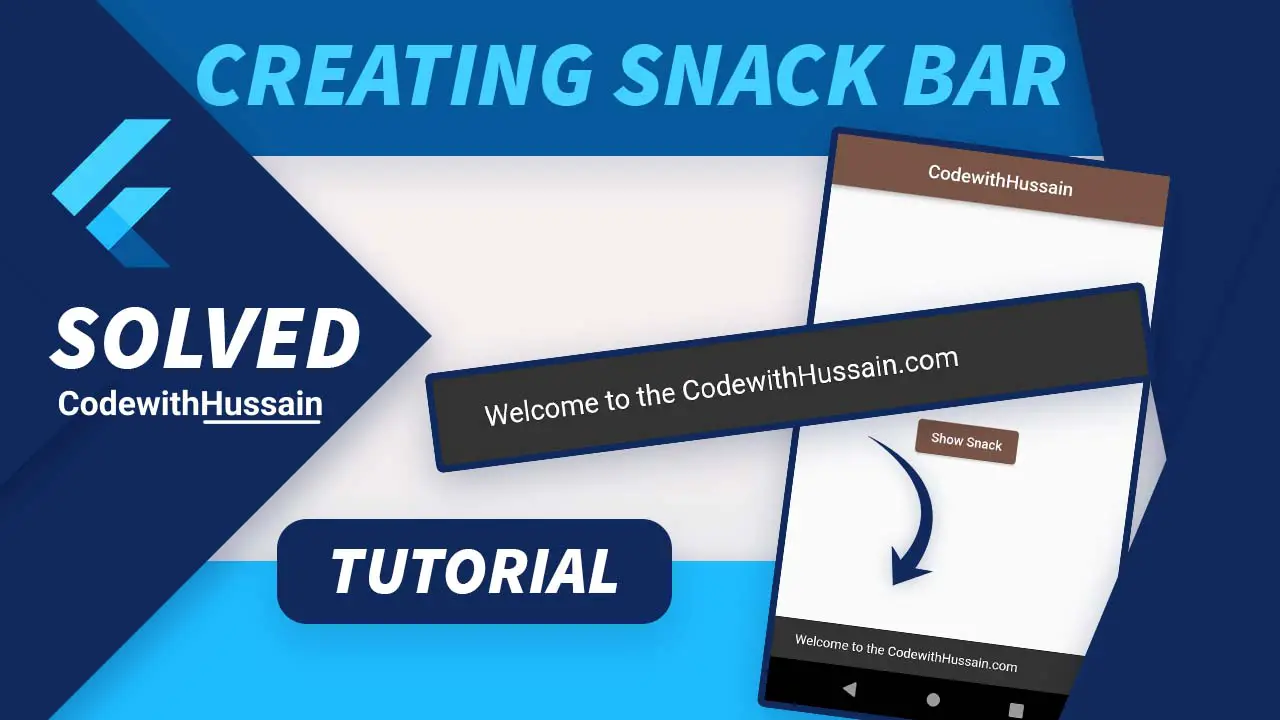
In the material design system, the snack bars inform users about the processes that an app is performing. You can use a snack bar to inform users, so they are aware of the state of the app. You can also use toast for notification.
Flutter has a material library that is based on the material design system so you can also create a snack bar in a flutter. It shows different things to use like messages, icons,s and more.
You will create a snack bar by following this flutter tutorial step by step.
In this Article
Show Snackbar in Flutter
For creating SnackBar in Flutter you need to create a sample project. In which you create an ElevatedButton at the center of the Screen.
import 'package:flutter/material.dart';

class SnackBarScreen extends StatelessWidget {
  const SnackBarScreen({Key? key}) : super(key: key);

  @override
  Widget build(BuildContext context) {
    return Scaffold(
      appBar: AppBar(
        centerTitle: true,
        title: const Text('CodewithHussain'),
      ),
      body: Center(
        child: ElevatedButton(
          child: const Text('Show Snack'),
          onPressed: () {
            //Here you the snackbar logic
          },
        ),
      ),
    );
  }
}
Preview:
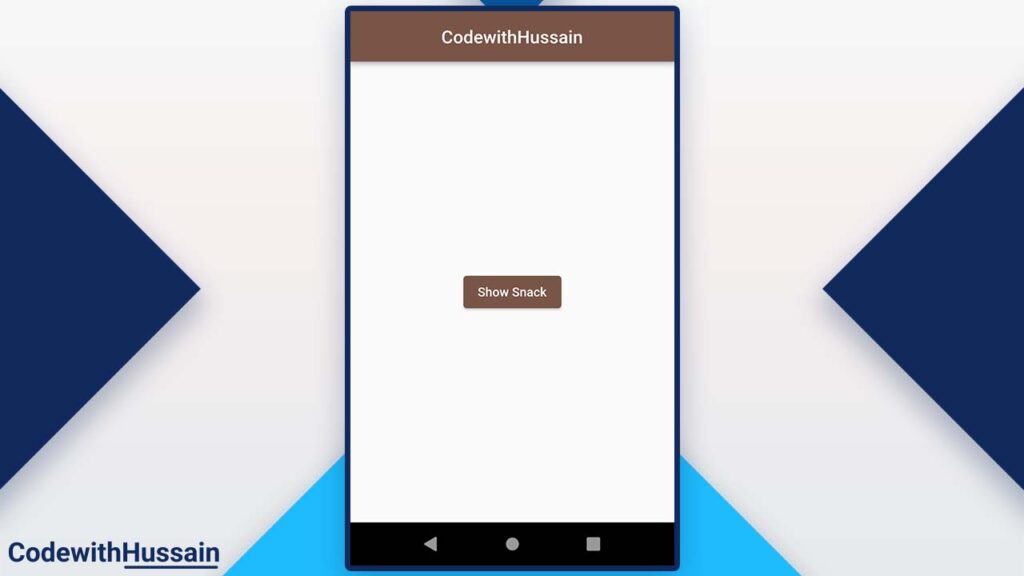
You can use these two steps to show the SnackBar widget on your screens.
- Create a SnackBar Widget
- Execute ScaffoldMessenger showSnackBar() method
Create a SnackBar Widget
The first step is to create a SnackBar widget in the build method of the Screen widget in which you have created the Scaffold.(Make sure you added the Scaffold around it)
const snackBar = SnackBar(
  content: Text('Welcome to the CodewithHussain.com'),
);
Now you have the SnackBar here, the only thing that you need is to show it to the UI that you use ScaffolMessenger.
Execute ScaffoldMessenger showSnackBar() method
By using ScaffoldMessenger showSnackBar() the method you can easily create the above-mentioned SnackBar.
Inside the ElevatedButton on the pressed property you can write:
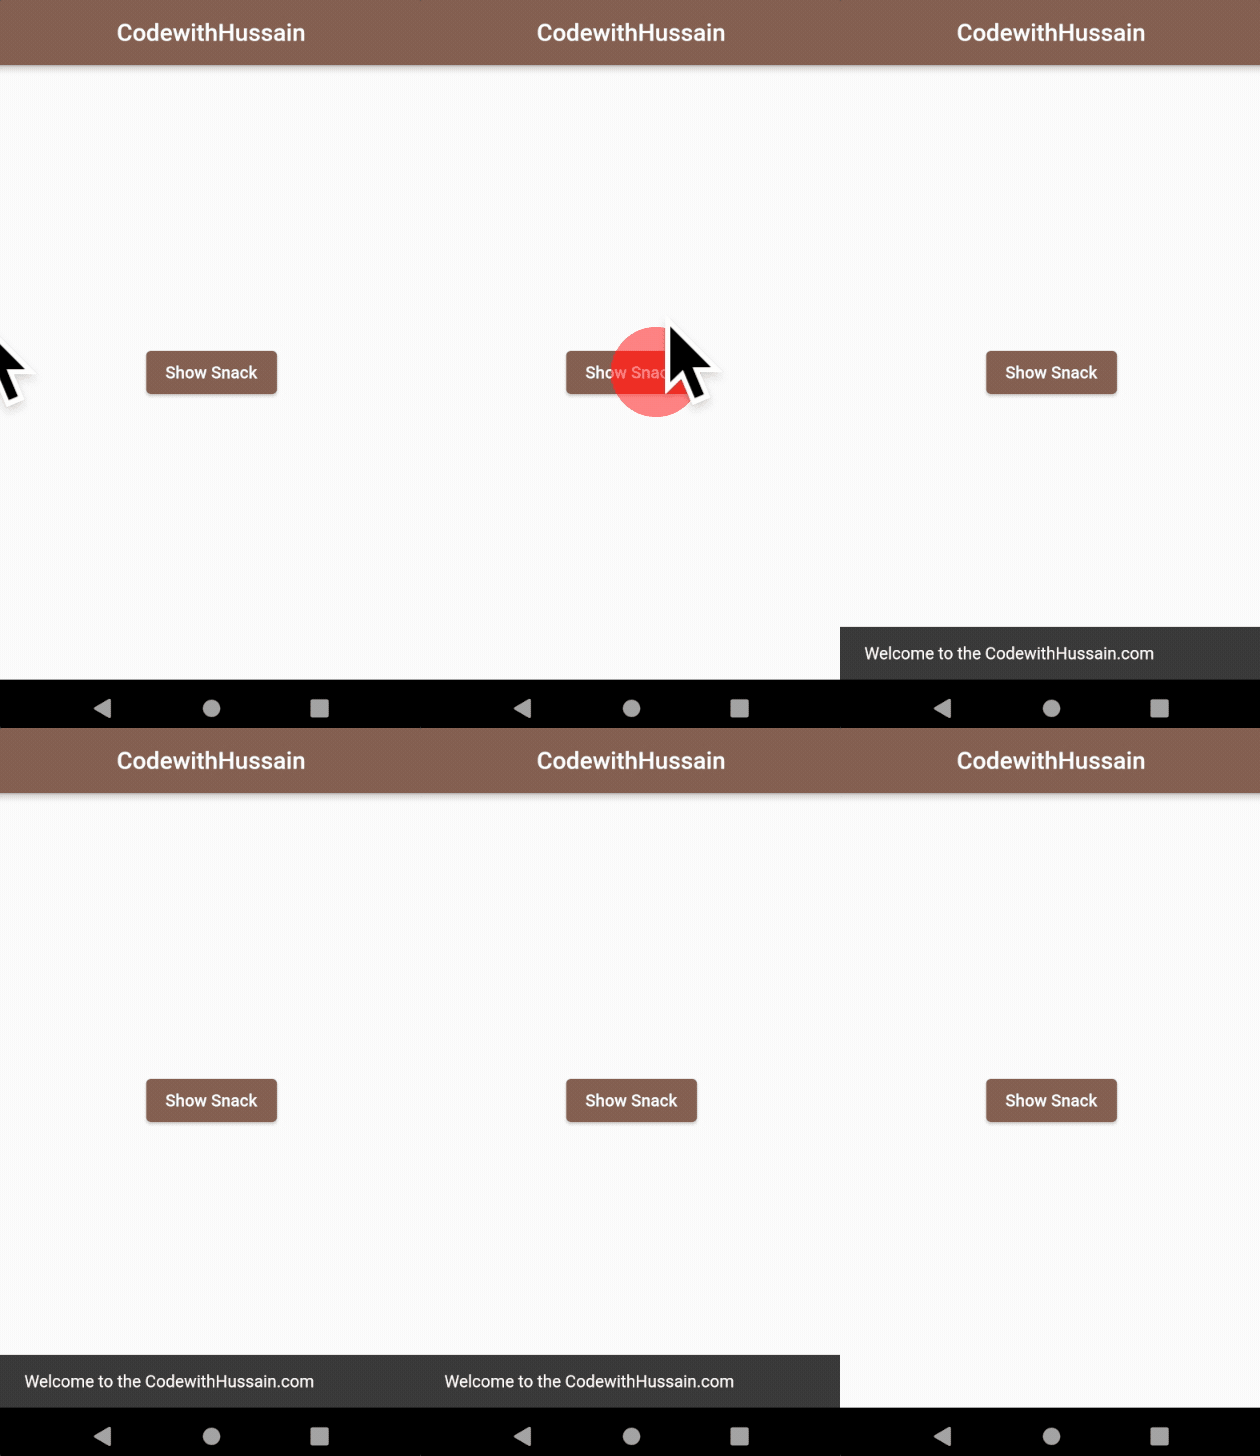
ScaffoldMessenger.of(context).showSnackBar(snackBar);Now when you press the Button It will show you the SnackBar.
Complete Code:
import 'package:flutter/material.dart';

class SnackBarScreen extends StatelessWidget {
  const SnackBarScreen({Key? key}) : super(key: key);

  @override
  Widget build(BuildContext context) {
const snackBar = SnackBar(
  content: Text('Welcome to the CodewithHussain.com'),
);
    return Scaffold(
      appBar: AppBar(
        centerTitle: true,
        title: const Text('CodewithHussain'),
      ),
      body: Center(
        child: ElevatedButton(
          child: const Text('Show Snack'),
          onPressed: () {
            ScaffoldMessenger.of(context).showSnackBar(snackBar);
          },
        ),
      ),
    );
  }
}
Preview:
SnackBar Widget
The SnackBar widget has some properties which you can specify to make the snack bar look and feel according to your requirement.
| SnackBar Properties | SnackBar Properties Description |
| content | content is required – You can pass any widget here. |
| backgroundColor | Color of the SnackBar |
| elevation | The shadow below the SnackBar |
| margin | Margin around the SnackBar |
| padding | Padding inside the SnackBar |
| width | Width of the SnackBar |
| shape | you can pass any ShapeBorder here |
| behavior | You can specify fixed or floating behaviour |
| action | You can pass the SnackBarAction Variable here |
| duration | The amount of time SnackBar should display |
| animation | Entrance or Exit animation |
| onVisible | A function that will execute when SnackBar is visible |
| dismissDirection | Default is down but you can specify the direction where SnackBar can be dismissed |
| clipBehavior | You can clip the content by setting this property |
Conclusion:
You explore how you as a beginner can simply create a SnackBar notification by pressing the button on the screen.
Read more:
- How to use SVGs in Flutter
- How to use Hex Colors in Flutter
- How to Change App Package Name in Flutter
- How to Dismiss Keyboard
- Exit Flutter App programmatically
Hope this flutter tutorial was helpful. Thanks!
