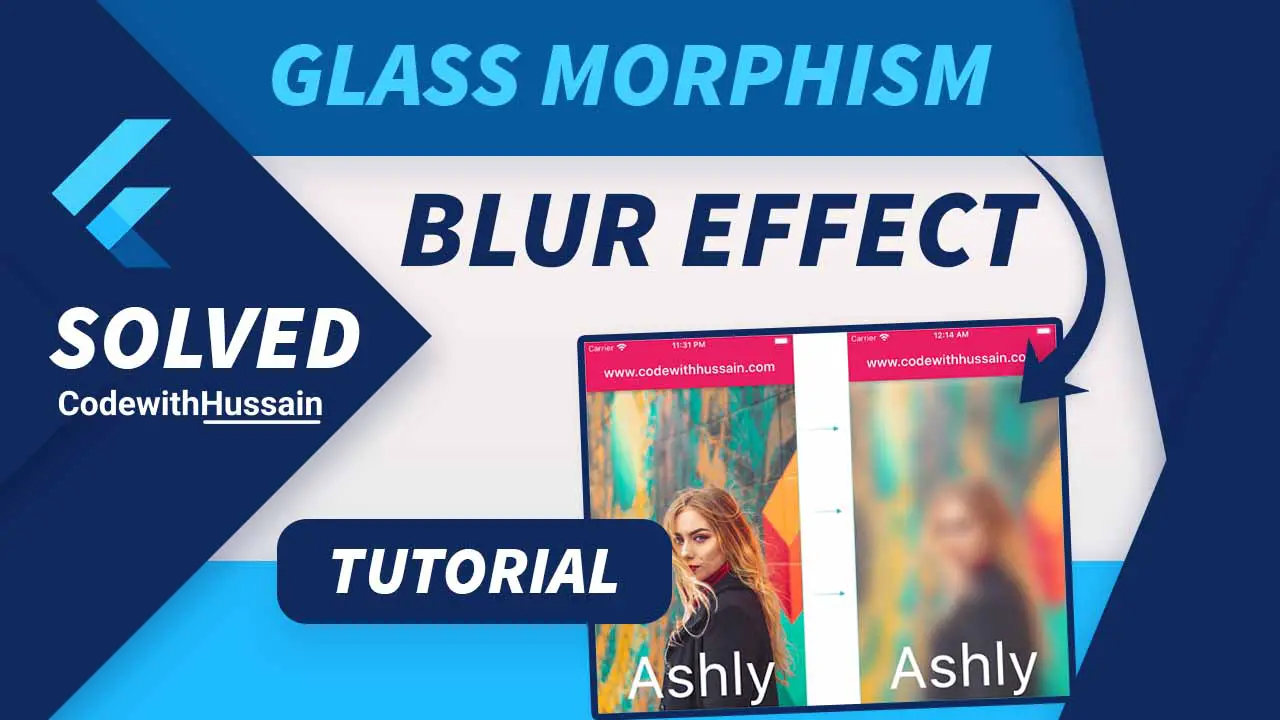
Today you will learn how to add the blur effect or frosted glass effect in a flutter app.
Usually, you see frosted glass in offices with high-traffic areas where people need privacy. But now same glass effect is used in UI designs of the app.
Glass morphism is the term used by designers for such designs with blurry or glassy looks.
They feel modern and used on various platforms and devices.
Flutter is a UI toolkit that gives you widgets for managing its visuals.
So, it has BackdropFilter and ImageFilter.blur which gives you the glossy effect.
Flutter also has a few packages that also produce the same blur effect.
Widgets
Packages
- blur
- blurryContainer
- blur_bottom_bar – create ios style blurry tab view
- blurred
- GlassKit
- Glassmorphism_ui
- glassmorphism
- flutter_acrylic
Here, you will explore all these methods one by one.
🔥Recommendation
Create a sample flutter project and follow the steps explain here. This way you learn better and have a clear idea about which method suits you with your design.
Hopefully, you found some value here.
Let’s get started
First, you will create an app and make the background blurry.
Blur Background using BackdropFilter
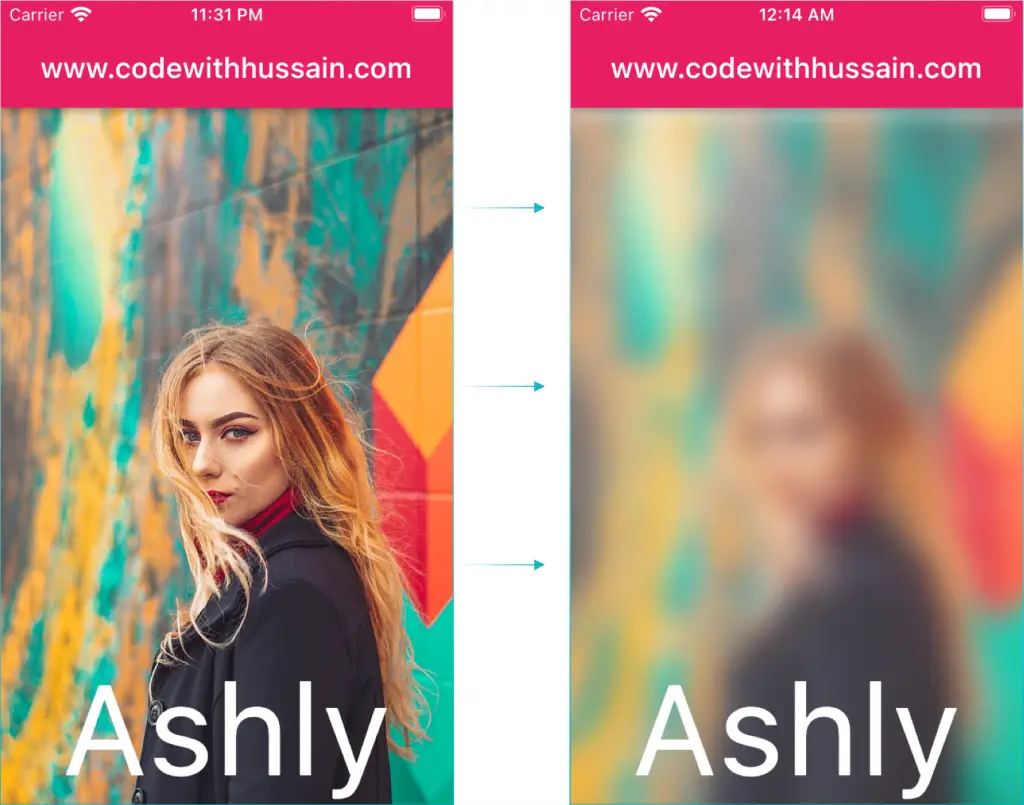
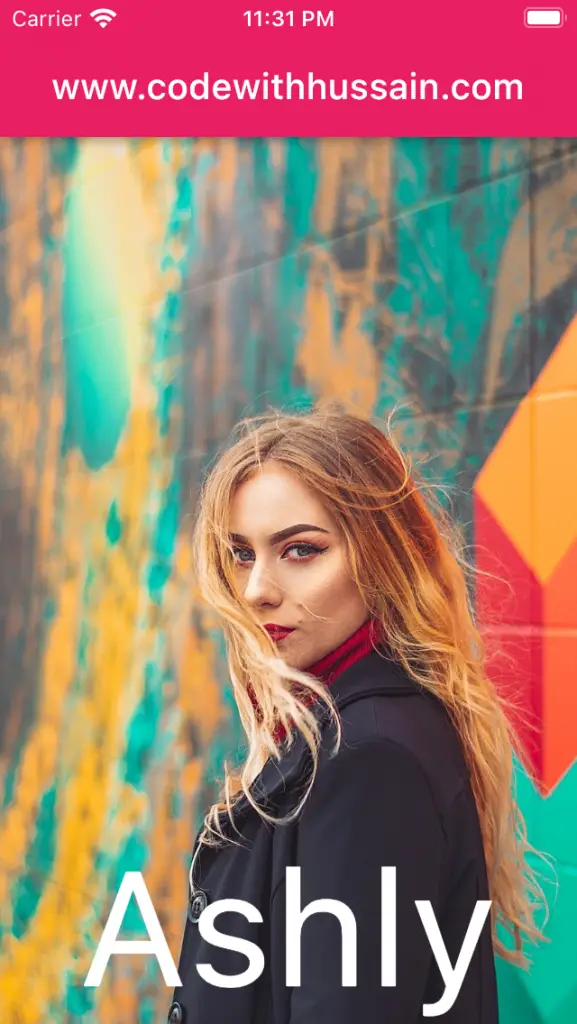
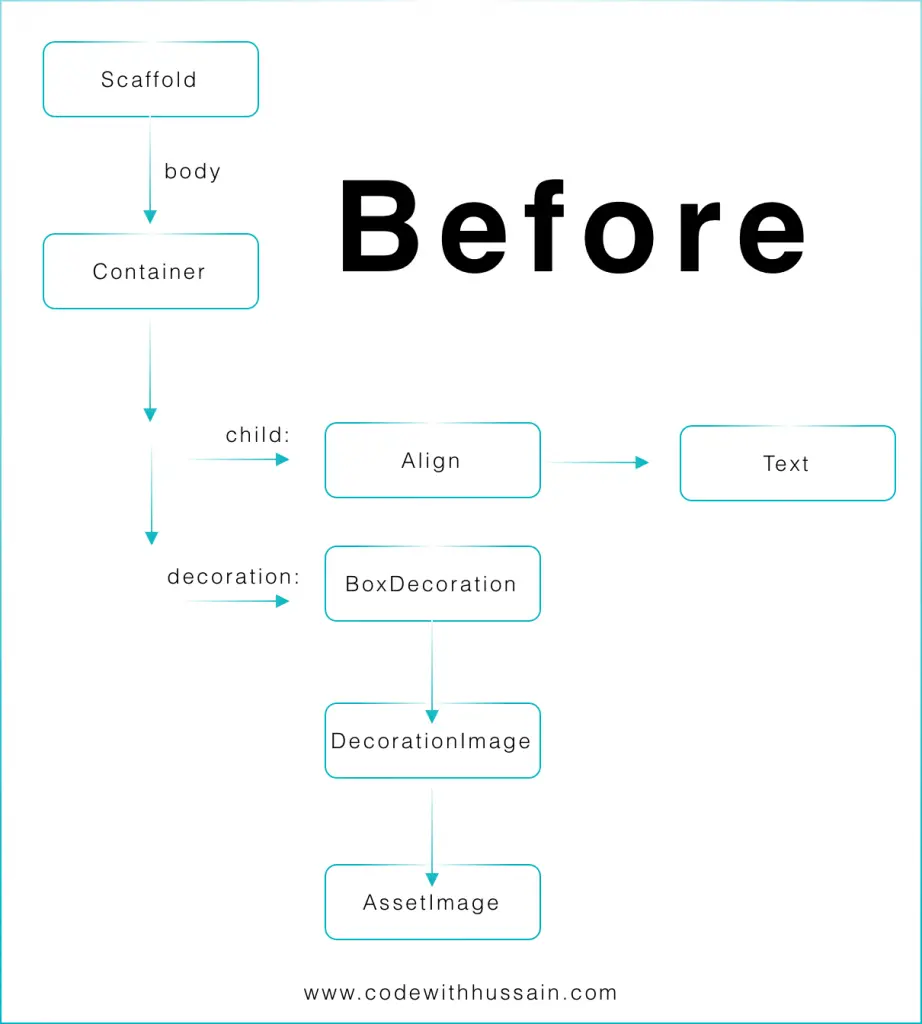
Before BackdropFilter and ImageFilter.blur
Preview
Let’s create this UI using this widget structure.
Code
import 'dart:ui';
import 'package:flutter/material.dart';
void main() {
runApp(const MyApp());
}
class MyApp extends StatelessWidget {
const MyApp({Key? key}) : super(key: key);
@override
Widget build(BuildContext context) {
return MaterialApp(
debugShowCheckedModeBanner: false,
title: 'Code with Hussain',
theme: ThemeData(
primarySwatch: Colors.pink,
),
home: const HomeScreen(),
);
}
}
class HomeScreen extends StatelessWidget {
const HomeScreen({Key? key}) : super(key: key);
@override
Widget build(BuildContext context) {
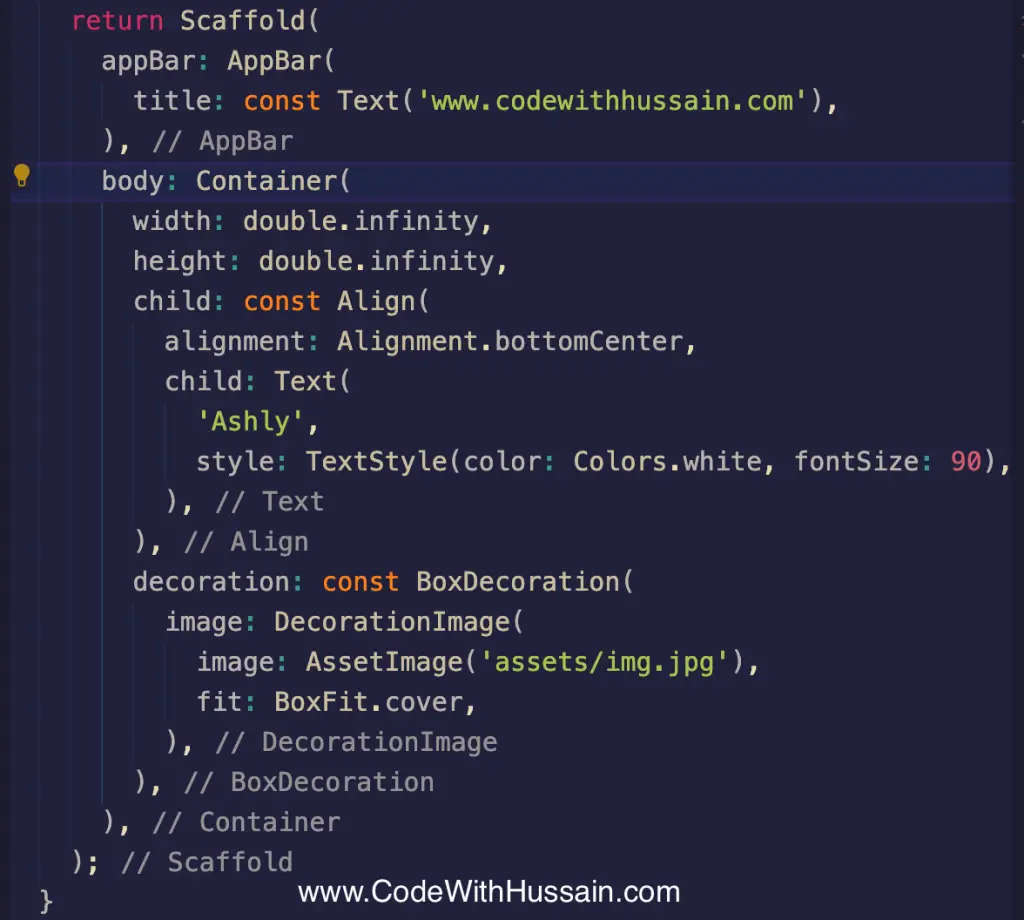
return Scaffold(
appBar: AppBar(
title: const Text('www.codewithhussain.com'),
),
body: Container(
width: double.infinity,
height: double.infinity,
child: const Align(
alignment: Alignment.bottomCenter,
child: Text(
'Ashly',
style: TextStyle(color: Colors.white, fontSize: 90),
),
),
decoration: const BoxDecoration(
image: DecorationImage(
image: AssetImage('assets/img.jpg'),
fit: BoxFit.cover,
),
),
),
);
}
}
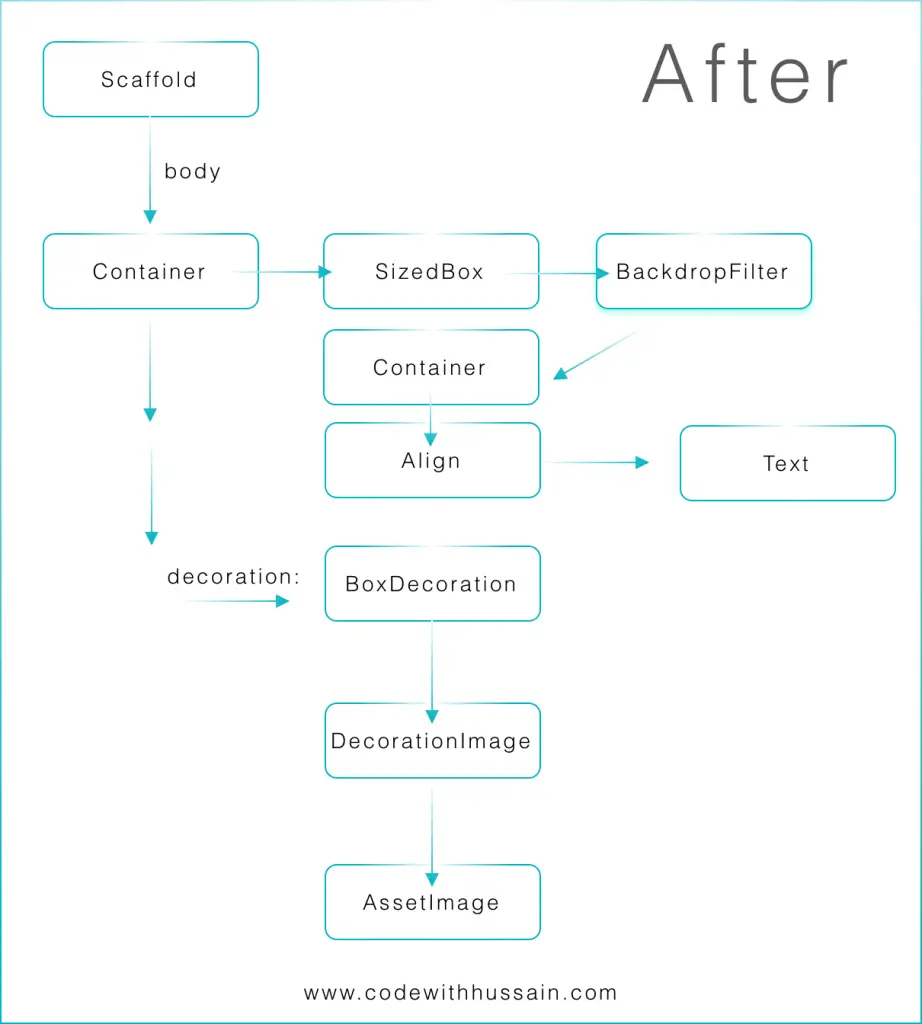
After BackdropFilter and ImageFilter.blur
Preview

UI Widget Structure
Code
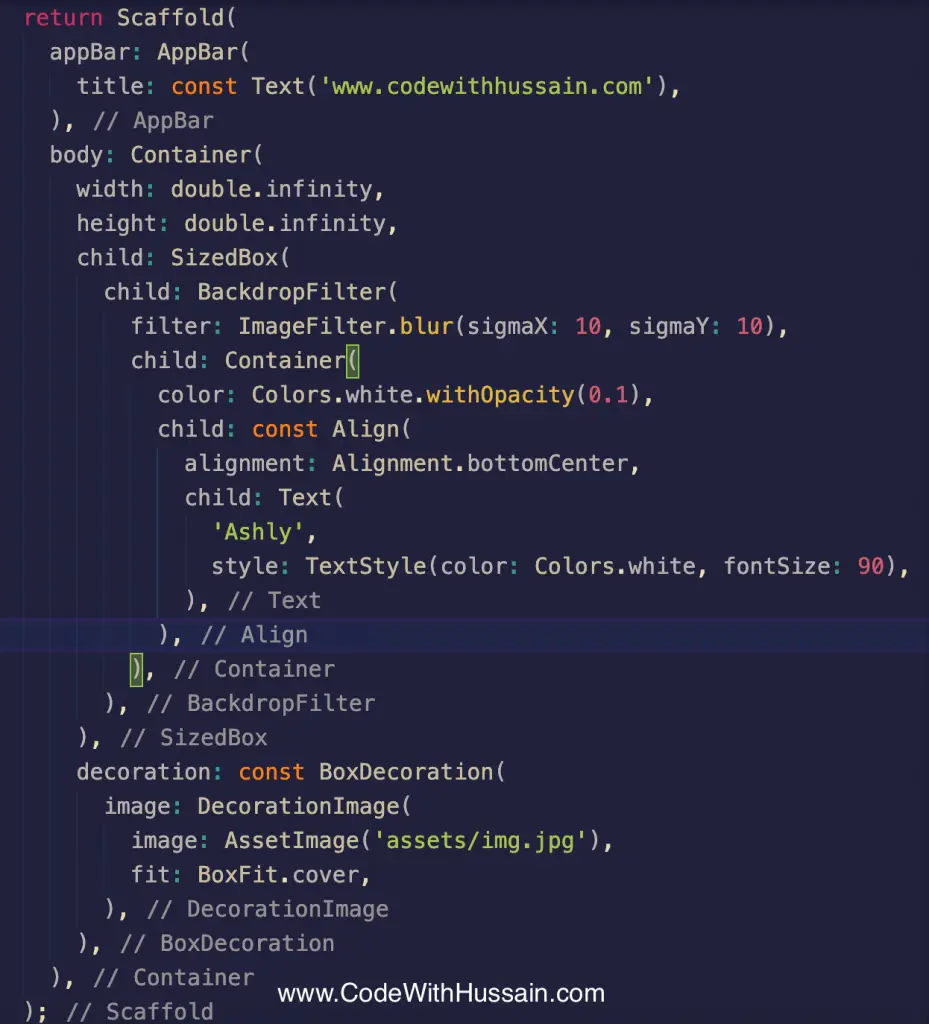
Code Snippet
BackdropFilter(
            filter: ImageFilter.blur(sigmaX: 10, sigmaY: 10),
            child: Container(
              color: Colors.white.withOpacity(0.1),
              child: const Align(
                alignment: Alignment.bottomCenter,
                child: Text(
                  'Ashly',
                  style: TextStyle(color: Colors.white, fontSize: 90),
                ),
              ),
            ),
          )
void main() {
runApp(const MyApp());
}
class MyApp extends StatelessWidget {
const MyApp({Key? key}) : super(key: key);
@override
Widget build(BuildContext context) {
return MaterialApp(
debugShowCheckedModeBanner: false,
title: 'Code with Hussain',
theme: ThemeData(
primarySwatch: Colors.pink,
),
home: const HomeScreen(),
);
}
}
class HomeScreen extends StatelessWidget {
const HomeScreen({Key? key}) : super(key: key);
@override
Widget build(BuildContext context) {
return Scaffold(
appBar: AppBar(
title: const Text('www.codewithhussain.com'),
),
body: Container(
width: double.infinity,
height: double.infinity,
child: SizedBox(
child: BackdropFilter(
filter: ImageFilter.blur(sigmaX: 10, sigmaY: 10),
child: Container(
color: Colors.white.withOpacity(0.1),
child: const Align(
alignment: Alignment.bottomCenter,
child: Text(
'Ashly',
style: TextStyle(color: Colors.white, fontSize: 90),
),
),
),
),
),
decoration: const BoxDecoration(
image: DecorationImage(
image: AssetImage('assets/img.jpg'),
fit: BoxFit.cover,
),
),
),
);
}
}Official flutter talk about in the widget of the week series.
BackdropFilter
ImageFilter.blur